
As a plant owner, I learned the hard way that light is if not the most important ingredient a plant may need when growing. All the good fertilizer and plant food that you use on it will not matter if they do not receive the right amount of light. A plant that doesn’t receive enough light will usually look weak, pale no matter what you give it. It will also look really scrawny and the distance between each leaf or branch will be longer as the plant tries to grow taller in search of light. A lack of light also causes what we all fear; the plant’s vulnerability to root rot.
During the course of my plant journey, I at times struggle to give my plants the right amount of light especially during the darker months which I feel in recent times has grown even longer due to the climate issues we faced. Yes, even in bright sunny Singapore where there is just so much sun all year around. Besides those dark days, there are also consistently what I called dead spots or corners that I just can’t have any plants, even the low light ones will slowly falter.
And so, I will always have grow lights at home no matter how some may think that my living room is really bright. Staying in a flat, it’s just never bright enough.
Without going into some of these things below, it is hard to determine if a light is going to be of help to your plants. I will only focus on LED lights here because it is what I use at home since it is the most economical. All information are a combination of my research and a little of my experience when looking for lights. So check out a few things below I learn about grow lights that could make it easier for you if you decide to get one.
When looking for grow lights, look for light intensity measurements like PPF & PPFD
PPF (photosynthetic photon flux) is a measure of how much plant-usable light is released by a bulb per second and is measured in micromoles per second (μmol/s).
PPFD (photosynthetic photon flux density) is the number of photosynthetic photons landing on a particular surface, a square meter per second, like a plant leaf. It is measured in micromoles per second per meter squared (μmol/s/m2). PPFD goes down as your plants get further away from the light source.
If the light manufacture provides these measurements, it kind of gives me a heads-up on how much research and effort goes into making this light.
I would use the PPFD as it is a more accurate reading of a professional grow light as it shows how intense the light can be over an area. Light is good to use only if it pushes out strong enough light on the plant at any area; not strong or intense means there just isn’t enough light even if it lights up the place.
Buy only what you need
Light intensity for plants varies for different plants. Foliage plants tend to require stronger light than others. Too strong a light and you could be wasting the energy consumed and paying high electricity bills.
Low-Light Plants (suitable for a north window or a fairly dark corner) eg.African Violets, Tropical Begonias: 40–80 umol/m2/s PPFD
Medium- Light Houseplants (A medium-light plant would be suitable for east-facing windows or located near a west-facing window, but out of direct light) eg. Aroids like Anthuriums, Philodendrons ,Pothos : 80–350 umol/m2/s PPFD
High-Light Houseplants (For plants that need brightly lit locations such as south- or southwest-facing windows): 350 – 600 umol/m2/s PPFD
Important point to note is that the intensity of the light can be increased if you have them closer to the plant. The PPFD will increase when they are closer. Check with the light manufacturer, if it is possible, the distance their PPFD is based on. This will allow you to better maximised your grow light.
Plants love and need a certain spectrum of light, so look out for PAR

PAR (Photosynthetically Active Radiation) measures the quality of the light plants needs in nonometers (nm). It’s the part of the light spectrum 400 to 700 nanometers (nm) that plants predominantly use for photosynthesis and this is composed of primarily of red, blue and green light.
Go for lights that have been carefully tuned to this range of the light spectrum. Blue light (400 – 500 nm) primarily has an effect on plant growth and development, increasing production of chlorophyll while those that received red light (600-700 nm), mainly stimulates plant flowering. Both red and blue lights are especially important to plants in their early stages, and gives them strong, healthy stems and leaves when used together.
Other lights in the spectrum counts.
While red and blue light are important, I tend to go for full spectrum lights that not only have tuned to these colours, they also have other lights that can be used throughout a plant’s life. It has been researched that some plants also absorb both uv lights (100-400nm) and far red lights (700-850nm) for other benefits like better quality flowers, fruits, root growth and better flowering and stem growth respectively.
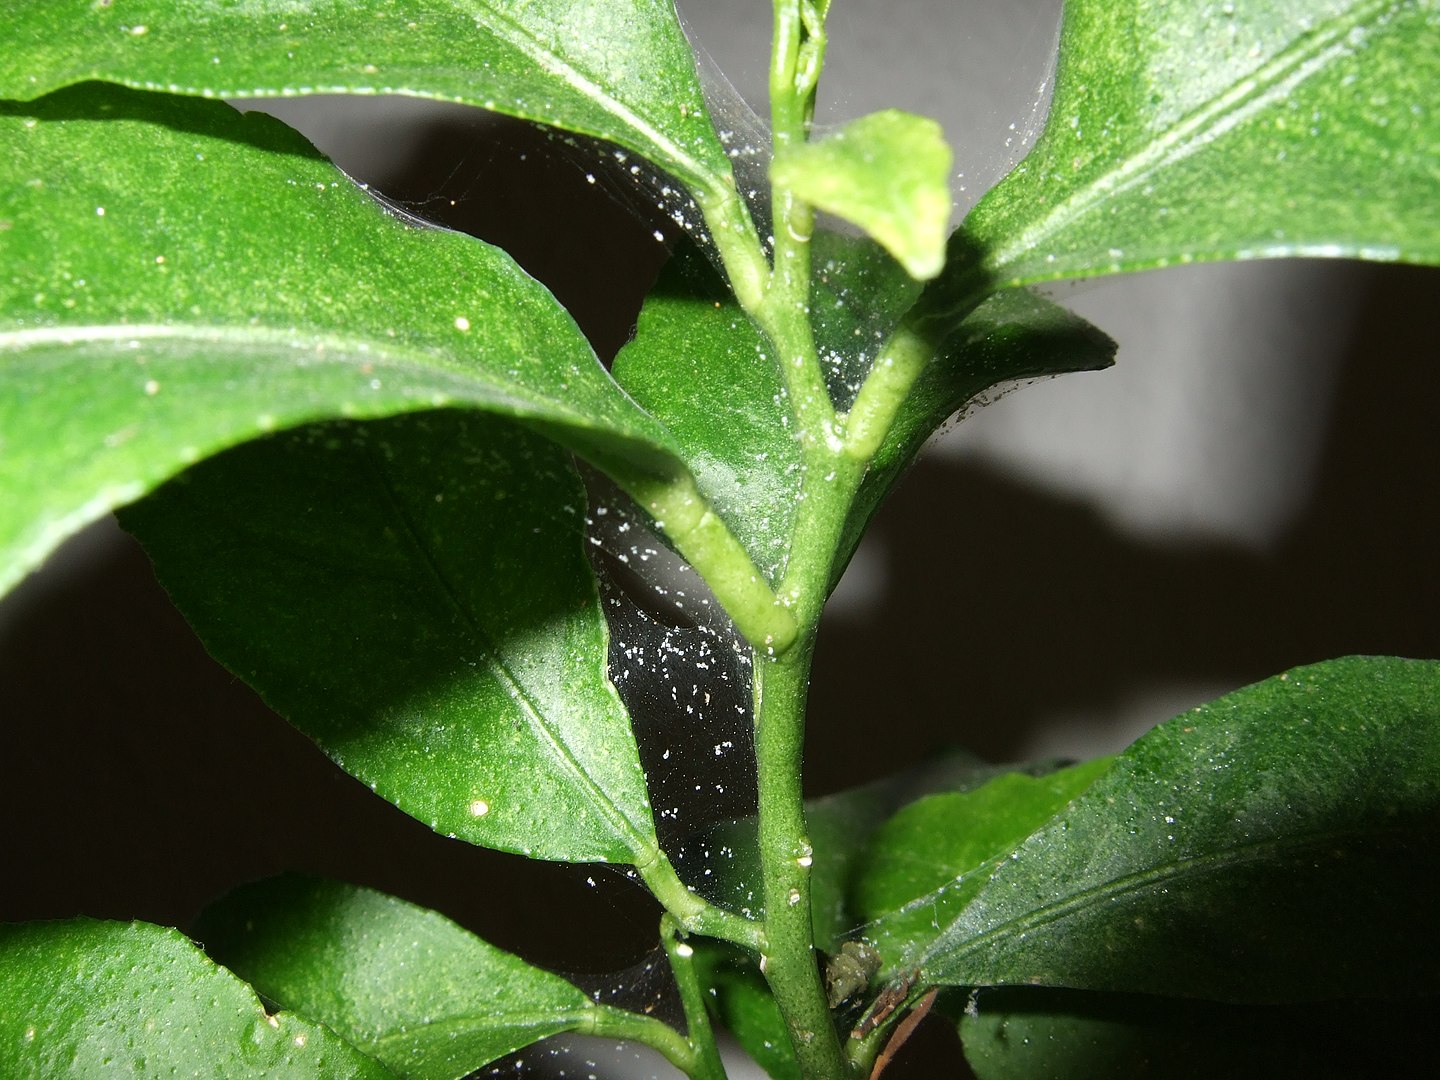
On a personal note, full spectrum lights are easier on the eyes and is better for our lifestyle. And best part, they let you see your plants and the pests on them.
If you have a weaker grow light, turning on the light source for longer hours will compensate for the weaker intensity of light it gets.

It’s like filling up a bottle of water but in this case, think of it like filling it up with light photons. This is the Dli (Daily Light integral). DLI is a measure of the number of photosynthetically active photons that you accumulate on a surface over a 24 hour period. DLI = μmol m-2s-1 (or PPFD) x (3600 x photoperiod) / 1,000,000 = DLI (or moles/m2/day). Most foliage plants will need at least 6DLI. You can calculate how many hours you need.
For me, unless I am growing vegetables, I will only estimate the time I will need. Taking into account of the number of hours of natural light you have, you will need to leave the lights on longer at night or start earlier in the day. If they look pale and scrawny, weak, leave them longer. Currently, I leave the lights on for about 8 hours. Most plants will need at least 8 hours of darkness to burn the stored energy they create in the day.
Place the light between 30 cm to 60cm away from the plant for best results
For most lights, this is the distance that is most effective and yet does not dry out the plant with its heat, although LED lights comparatively have the least heat emitting from them. But alot also depends on the type of plants you have. If you have a light meter, it will be good to measure the light intensity in lux because some plants especially aroids could be sensitive to a strong intensity of light. Take note also that the higher intensity lights can be placed higher up from a plant to lower its intensity. Start high and slowly move down. You will know your plant is overexposed when you see its leaves turning yellow or white. When in doubt, always refer to the light manufacturer specifications.
Have more than one light shining at an area of plants if your light is less intense or if you want to cover a bigger area.
This is because light footprints that overlap will add up If both your light overlaps, the PPFD will add up and you will have a stronger light intensity.
Look for LED screw bulbs
This the most convenient grow light to have especially for those of us growing our plants at home. These days the LED light bulbs are getting better and there are very professional ones these days with very good specs. Screw them in any lamps you have and it’s good to use. And best of all they save on the electricity bills.
When buying overseas, you may come across light base E26. This is usually the same as what we used here as E27, except for some slight differences in measurements on the base. It will work and safe but if you are very particular, try to use lamps that have a range of wide voltage from 110v to 240v, that will make it safer. Lamps like these are easily available from Ikea. E26 is usually used on a lower voltage in the US. I have been using both interchangeably and there have been no issues.
I HOPE YOU’VE ENJOYED MY POST HERE ON GROW LIGHTS. LOOK OUT FOR MY NEXT ARTICLE ON WHAT LIGHTS I USED ON MY PLANTS. THE ABOVE TIPS ARE WHAT WORKS FOR ME AND MY PLANTS IN MY HOME ENVIRONMENT, AND COULD BE DIFFERENT FOR YOURS. IF YOU HAVE ANY THOUGHTS YOU LIKE TO SHARE, PLEASE COMMENT BELOW OR JUST DM ME ON INSTAGRAM @plant_folksg